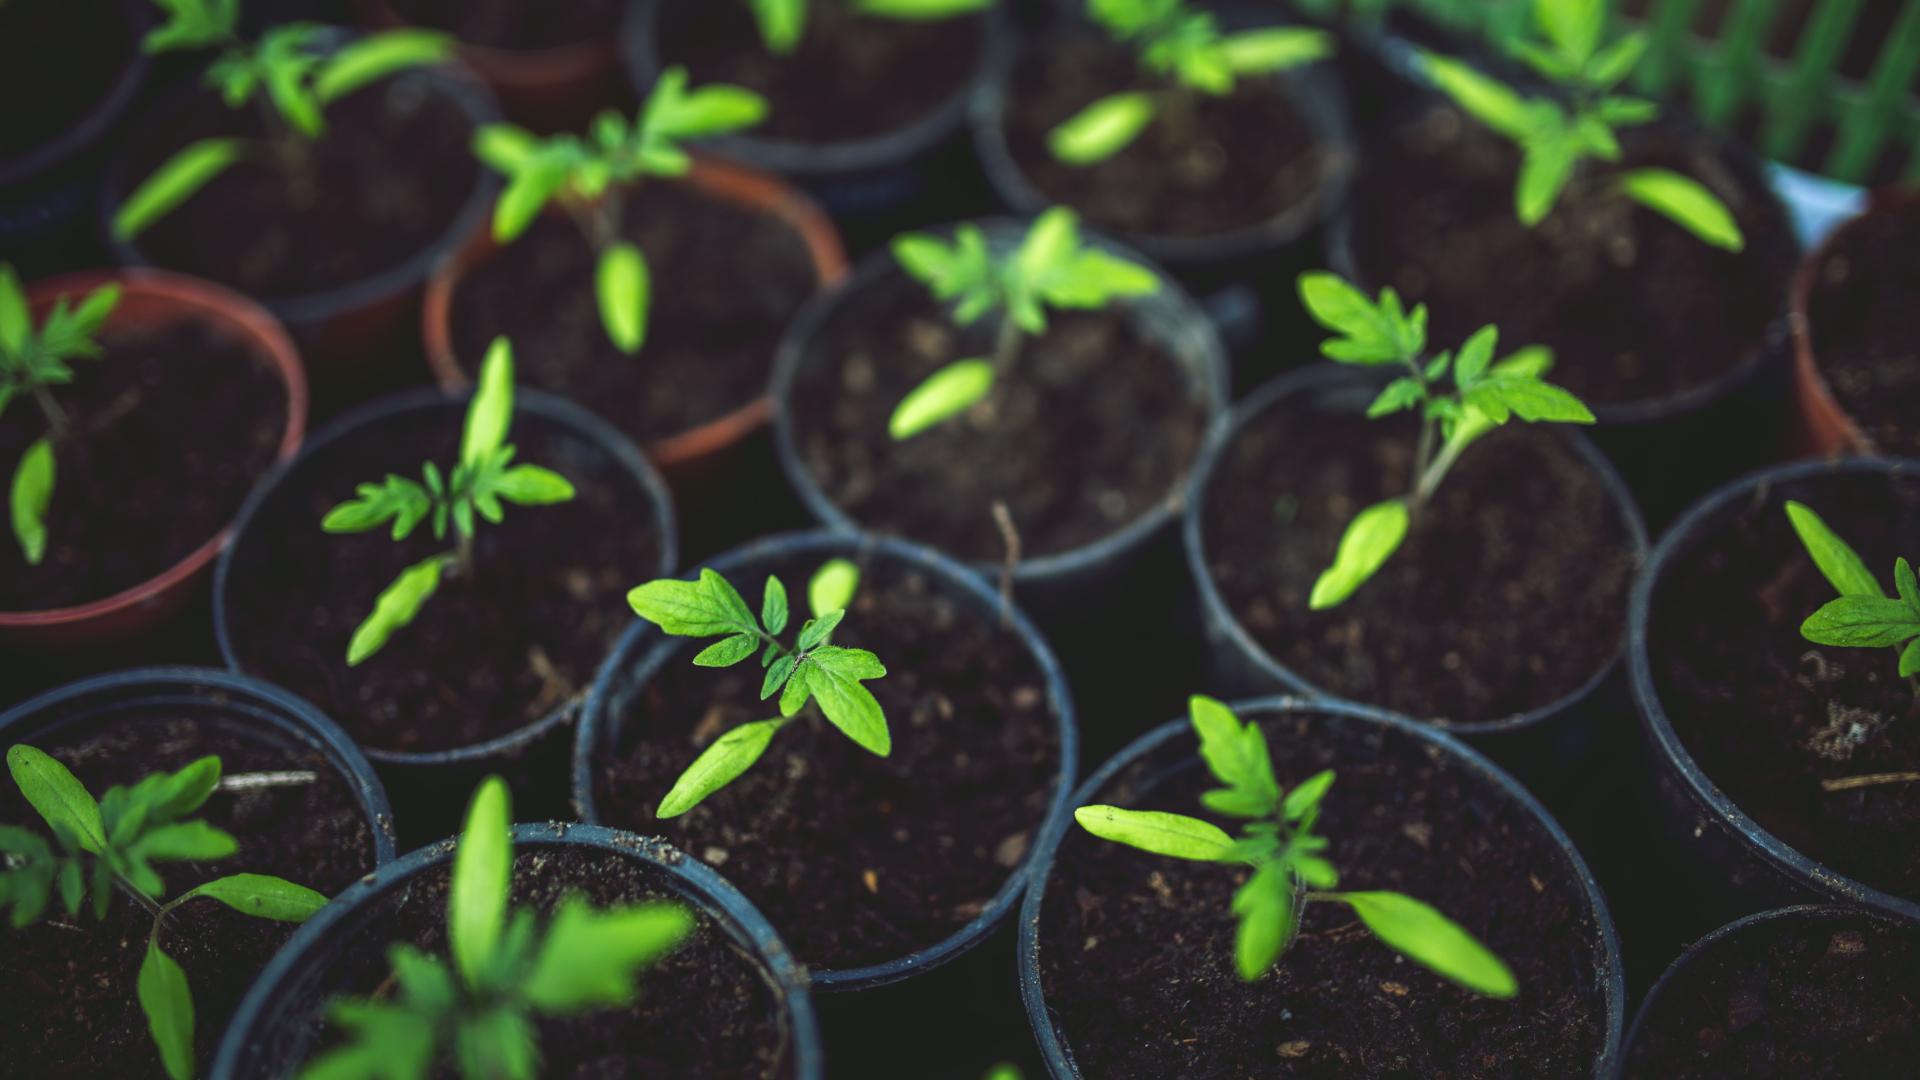
Every gardener has dreamed of owning a greenhouse in the off-season when the seed catalogs arrive and planning begins. If you are itching to work your green thumb year-round, the warm temperatures, humidity, higher carbon dioxide, and reduced insect levels in a greenhouse create the perfect ecosystem for starting seedlings indoors.
Trapping heat from the winter sun provides a safe environment to start plants early (January/February) and extend their production long after the summer growing season (November/December). Or, start a winter garden and harvest your own fresh vegetables during the holidays and crock pot season.
As a matter of fact, whether you already own a shed or plan to purchase a new one, converting a storage shed into a greenhouse is a real possibility with a little bit of knowledge.
Step 1: Location and Structure
Choosing Location For the Sun
When converting a storage shed into a greenhouse, one of the most critical parts is location. Make sure the location receives enough winter light (at least 6 hours per day) or plan to add grow lights. The greenhouse should be situated away from other buildings and deciduous trees so light accesses the plants from all four sides of the storage shed (three sides if the shed is positioned against another outbuilding). South or east-facing greenhouses will receive the most sun year-round.
If you are converting an existing shed already situated on your property, it may need to be moved if the location requirements aren’t met. If you are now pricing sheds to convert to a greenhouse, check local ordinances during the planning phase. Outbuildings may require a building permit by the town or county. Next, select the best growing location on your property and begin preparing the foundation and floor.
Greenhouse Size
The size of your greenhouse will be dependent on your budget and available space on your property. Many seasoned gardeners recommend the largest greenhouse you can afford that will fit in your garden. This is because it's almost impossible to expand or enlarge an existing greenhouse than starting with a larger one.
A smart greenhouse will provide enough headroom to stand while you work and allow for tall and hanging plants. The floor area should include space for heating and airflow systems. Mockup the footprint, where you will install the plant tables or shelves and enough room to move around the shed, bend over, and transport plants.
We carry storage structures of all shapes and sizes, check out this blog for a rundown of our different storage structures.
Step 2: Greenhouse Shed Materials
A wood-framed structure is acceptable, however, you’ll need to let light inside to create the greenhouse effect. The roof and walls can be replaced with any clear or transparent material that is heavy enough to withstand harsh weather conditions, and light enough that the structure can bear its weight. Let’s take a look at some of the materials you may use as you convert your shed to a greenhouse.
Glass
Both clear and patterned glass is acceptable. If you use old windows as the glazing for your greenhouse, any existing hinges can be used to open the roof during hot months, naturally cooling the greenhouse. Single pane glass is heavier than plastic, yet breaks easily. That said, glass must be attached to your greenhouse with brackets to keep it from breaking as it expands and contracts with seasonal temperatures.
Plastic Films
Plastic sheeting appropriate for greenhouses includes polyethylene, copolímeto ethylene, vinyl acetate, and polyvinyl chloride plastics. They are easy to lift, cut, and fit into the frame of your greenhouse. Plastic films reflect the intense summer heat, and the frame of your structure can be a bit more flexible with sheeting. However, plastic films only withstand weathering for 2-4 years.
Rigid Plastics
Polymethyl methacrylate (acrylic, acrylic glass, plexiglass), polycarbonate, and polyester are stiff plastics that work well in greenhouses. These materials are manufactured in sheets and are easier to cut than glass, but more difficult to maneuver than flexible plastic films. However, polycarbonate is almost as transparent and strong as glass. If you choose double or triple-wall polycarbonate, it can have an R-value (ability to insulate) up to three times that of glass.
All in all, your best option depends on the cost and amount of insulation your greenhouse needs. Any transparent material can be used as long as it lets the light in, allows the air to circulate, and withstands heavy snow and wind.
Greenhouse Shed Flooring
If your storage shed already has a floor, you'll want to remove it. Place the structure on cement footers or on a foundation with the center floor removed. The foundation or floor should allow for water drainage, as your greenhouse will get wet from watering the plants and retain much more humidity than it did as a storage shed. Pea gravel is a popular choice for flooring as it
Other Miscellaneous Tools and Materials
Of course, you probably already store your favorite tool set or kit in your shed. But if you are looking for a list of the other items you will need to build a greenhouse from an old storage shed, you will also need: a sharp utility knife, duct tape, lumber, table saw, and measuring tape. Don’t forget to incorporate your kids into the project, and have them help secure plastic sheets or hold materials in place until they are ready to be fastened.
Step 3: Converting Your Shed to a Greenhouse
Securing Plastic to Wooden Framing
The first step involves taking down the measurements of your current shed and recreating the needed dimensions by cutting out plastic sheets to wrap around the framework. Once you know the sizes, you can remove the old panels and siding and replace these with the sheets you cut out. You can opt to keep your old shed door in place, or key portions of siding in the event you need extra coverage. But for the most part, you can use the plastic to make entryways.
Bonus Option for Recycling Older Roofing Shingles
After you complete the measuring process for the plastic sheets, you should consider whether there is a potential to repurpose your shed’s old roofing shingles. If they are cedar or similar wood, think about using them as a layer to separate raised beds. This is a great and easy way to save the money you would need to spend at a disposal station to complete the same service.
Insulation to Keep Plants Safe, Warm, and Open to Light
With the roofing removed, you will need to secure the plastic and fasten it to the shed’s frame using lumber. In addition, you will want to carefully take off any siding and tape the corners on each side to prevent plastic wear and tear. When it comes to ventilation, you may want to consider leaving one or two sides open for ventilation during the hot summer months.
This should help to guide you through the first portion of the greenhouse-shed construction procedure. Once completed, you can move on to the process of installing raised garden beds on the interior of your shed. For this, you will need additional lumber custom cut to fit along the inside of your greenhouse and screws with connectors.
If you’re in search of a storage shed to convert into a greenhouse, browse our selection at Country Cabins today.

